
{Before you begin: You should have a banner image already saved on your computer. You can download a free one or purchase one through an online boutique or website. Here is a link to a selection I offer through my blog and for sale in my shop.
Be sure to save your banner in an easy to find location so you can locate it in the future. I like to save mine in a folder and title the folder "blog images".}
Begin by logging into your blog, then click "Design" found in the top right corner of your blog or navigate to the "Design" tab.

Then click on the "Edit" button found in the header section.

A pop-up window will open showing you a number of options.
So let's go through the list of items you'll see...

In the first and second rectangles you can change the name of your blog and
it’s description…

If you’re using a decorative blog header you won’t need to worry about this area,
unless you want to have the description to up under your blog header.
The next area is where you can upload a banner image from your computer…

In the next area you can select to add your banner from an online location by
inserting a link…
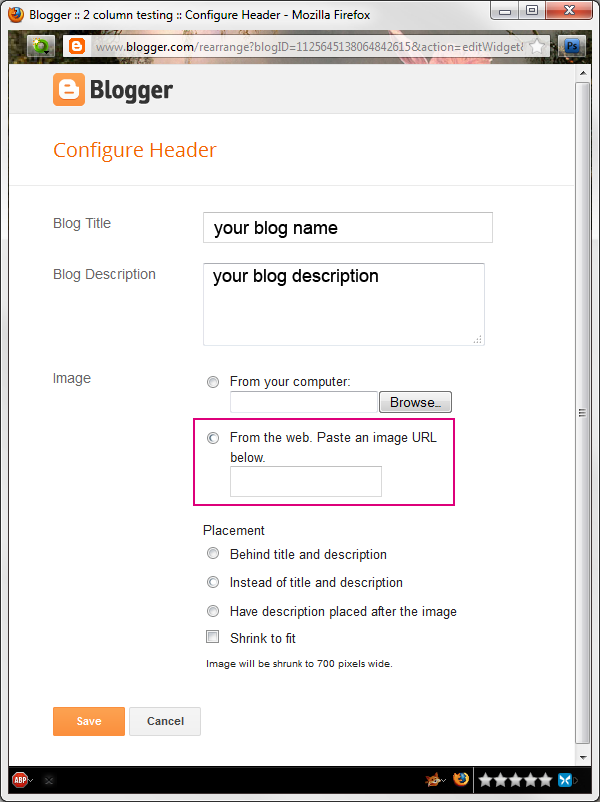
Next is the “Placement” area where you can select to have your description
or blog title show up in combination with using a banner image…

Just below that area is the option to shrink the banner image to fit your blog’s layout…

Just below that, in tiny print, is where you’ll see the size of your current header
based on what template you’re using and how it’s set up…

And finally at the very bottom are the “Save” and “Cancel” buttons…

Now that you understand all of the features and options for the Header area,
Let’s install a custom blog header image and make a few selections to be sure it
looks it’s best.
You’ll need to begin by selecting the “Shrink to Fit” option since this is only
available before you upload your banner image, so click on the square to
select this option…

It’s important to select to shrink your banner so that the image shows up completely
and is not cut off ~ even if the banner image is the exact size the width of your header
it doesn’t hurt to shrink the image as it will simply show up in it’s full size.
Next, we’ll upload the banner image so click on the “Browse” button...

Now navigate to where you have your image saved, click on the image name, and
then click the “Open” button…

You can now select whether you would like a description of your blog to show up
under the image or if you would just like the image to appear with nothing else….

Once you’ve made your selection click the “Save” button to save your image…

Congratulations! Your new header is now in place and you have a working knowledge
of this area you can change your banner image out whenever you like.
Enjoy!